Glue-on nails are a popular choice for achieving beautiful, salon-quality nails at home. They’re quick, convenient, and affordable. However, when the time comes to remove them, it’s essential to do so properly to avoid damaging your natural nails. In this guide, we’ll walk you through safe and effective methods to remove glue-on nails without causing harm to your nails or skin.
Why Proper Removal is Important
Improper removal of glue-on nails can cause serious damage, including:
Nail Damage: Forceful removal can lead to broken or weakened natural nails.
Skin Irritation: Using harsh methods can irritate the sensitive skin around your nails.
Bacterial Infection: If nails are pulled off too aggressively, it can create openings for bacteria to enter, leading to potential infections.
Steps to Remove Glue-on Nails Safely
1. Soak Your Nails in Warm, Soapy Water
Start by softening the glue and loosening the nails to make the removal process easier. Here’s how to do it:
Fill a bowl with warm water and add a small amount of mild soap or dishwashing liquid.
Soak your nails for about 10-15 minutes. The water will help loosen the glue, making it easier to remove the nails without causing any damage.
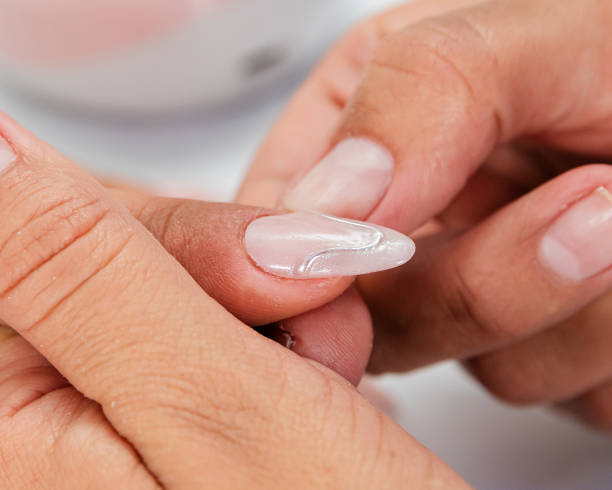
2. Gently Pry Off the Nails
Once your nails have softened from soaking, it’s time to remove them:
Use a wooden cuticle stick or an orangewood stick to gently lift the edges of the glue-on nail. Be careful not to force the nail off, as this can damage your natural nail.
If you feel resistance, soak the nails for a few more minutes to loosen the glue further before attempting to remove them again.
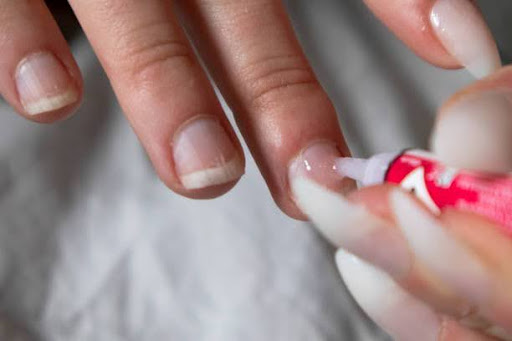
3. Use Nail Polish Remover
If soaking alone doesn’t fully loosen the glue, you can use an acetone-based nail polish remover to dissolve the adhesive.
Soak a cotton ball with acetone or nail polish remover and gently rub it on the edges of the glue-on nails.
Hold the cotton ball on the nail for about 3-5 minutes to help the remover break down the glue.
Once the glue starts to soften, use the cuticle stick to gently lift the nail off.
4. Buff and Clean Your Nails
After the glue-on nails are removed, your natural nails may feel a little rough or dry. Here’s what to do:
Gently buff the surface of your nails to remove any residual glue or rough patches. Be cautious not to buff too aggressively, as this can cause damage.
Wash your hands and nails thoroughly with soap and water to remove any remaining nail polish remover or glue residue.
5. Nourish and Hydrate Your Nails
After removing glue-on nails, it’s essential to give your natural nails some TLC:
Apply a nourishing cuticle oil or moisturizer to hydrate your nails and the skin around them.
Use a thick hand cream or nail treatment to restore moisture and promote nail health.
Tips for Preventing Glue-on Nail Damage
To avoid issues in the future, here are a few tips:
Don’t Rush the Removal Process: Patience is key. Rushing can cause damage to your nails.
Use a Good Base Coat: When applying glue-on nails, use a base coat to protect your natural nails from the adhesive.
Choose Quality Glue-on Nails: Opt for high-quality glue-on nails to ensure they last longer and come off more easily when you decide to remove them.
Products to Help with Nail Care After Removal
Here are a few products to help care for your nails after removing glue-on nails available on Amazon:
Benefits: A rich cream to hydrate and restore nails.
Conclusion
Removing glue-on nails doesn’t have to be a difficult or painful process if done properly. By soaking, gently prying, and nourishing your nails afterward, you can avoid damage and keep your natural nails healthy. Always remember to be patient and avoid forceful removal. With the right technique and aftercare, your nails will remain strong, and you’ll be ready to try your next nail look without worry.
Introduction Nail designs don’t have to be loud or extravagant to make a statement. Sometimes, the most impactful looks come from subtle, minimalist designs that exude elegance and sophistication. Whether you’re dressing for a professional setting, a casual outing, or a special event, subtle nail art is a timeless choice. In this blog, we’ll explore…
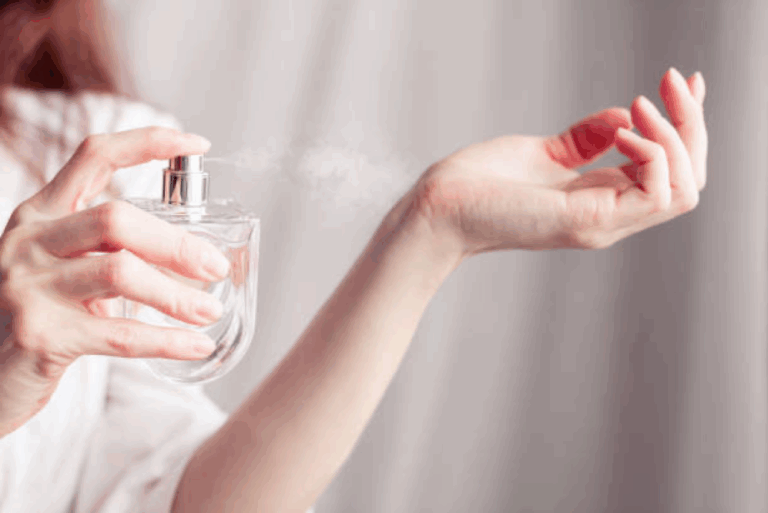
Long lasting perfumes are a solution for anyone frustrated by fragrances that fade too quickly. Whether you’re rushing through your day or preparing for a special event, the last thing you want is to constantly reapply your scent. The good news is that long lasting perfumes exist, and with the right application techniques, you can…
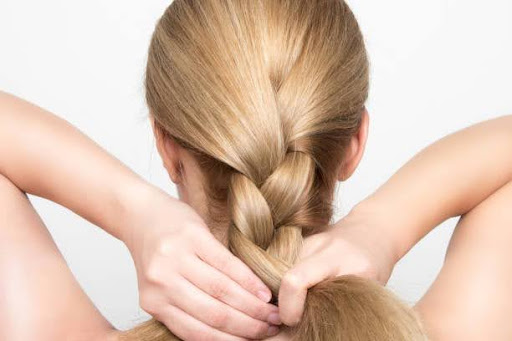
Hair braiding is a timeless art that combines beauty, practicality, and tradition. Braids have been a staple hairstyle across cultures for centuries, symbolizing identity, status, and creativity. Today, braids continue to be a favorite for their versatility, offering options for every occasion be it a casual outing, a formal event, or a protective hairstyle for…
Easy hairstyles for every occasion are an essential part of personal style, offering endless opportunities to express yourself. From chic updos to casual waves, your hair can set the tone for any look. Whether you’re preparing for a formal event, running errands, or simply looking for a fresh everyday style, easy hairstyles can match your…
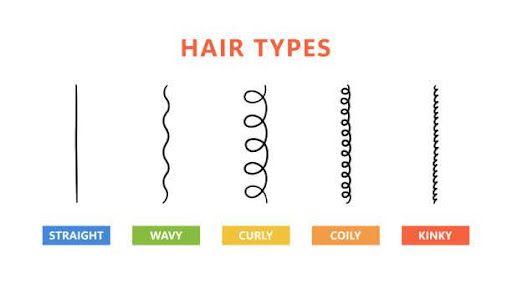
Understanding your hair type is the first step to achieving healthy, manageable, and beautiful hair. Your hair type influences everything from the products you should use to the hairstyles that suit you best. By learning about your unique hair texture, porosity, and density, you can create a personalized hair care routine that works for you….
What is Fragrance Layering? Fragrance layering for men is the art of blending different fragrances to create a unique, personalized scent. By combining various notes, such as fresh citrus, rich spices, and deep woods, you can elevate your fragrance experience and make it last longer. Whether you want something bold, subtle, or refined, fragrance layering…